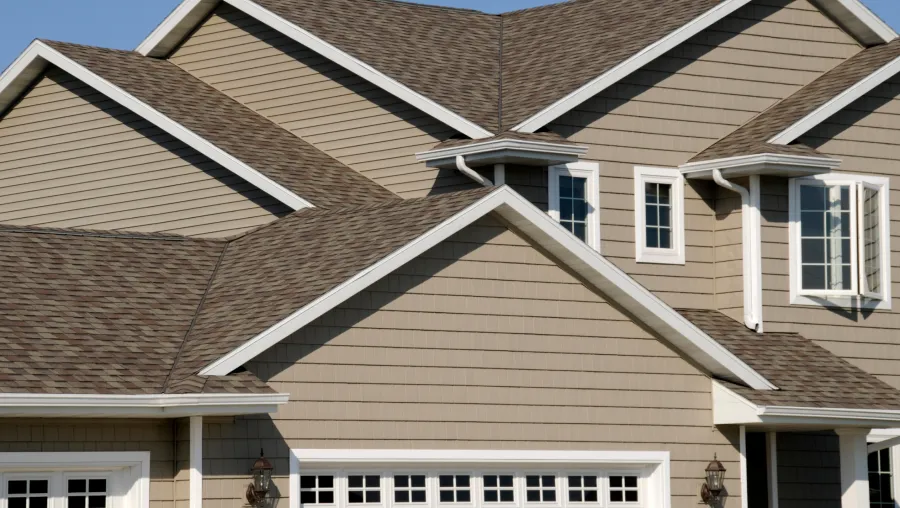
Siding plays a major role in protecting your home from moisture, weather damage, pests, and energy loss. Over time, however, siding can crack, warp, fade, or develop structural problems that affect both appearance and performance. When damage becomes noticeable, many homeowners begin asking how to replace siding and whether it is a project they can handle themselves.
Understanding the siding replacement process can help you make informed decisions, whether you plan to complete the project on your own or hire a contractor. From removing damaged materials to preparing exterior walls and installing new panels, every step matters when completing a successful home siding replacement.
This guide explains how to replace siding on a house, the tools required, important safety considerations, and mistakes to avoid for a durable, professional-looking result.
When to Replace Siding
Before learning how to replace siding, it is important to understand when to replace siding in the first place.
Siding naturally wears down over time due to exposure to moisture, UV rays, temperature changes, and storms. While small issues may only require repairs, larger problems often indicate the need for complete house siding replacement.
Common signs it may be time for replacement include:
- Cracked, warped, or rotting panels
- Mold, mildew, or moisture damage
- Fading or peeling finishes
- Increased energy bills from poor insulation
- Frequent maintenance or recurring repairs
- Loose or missing siding after storms
If siding damage affects multiple areas of the home, full home siding replacement may offer a more cost-effective long-term solution than repeated repairs.
Tools and Materials Needed for Siding Replacement
Before starting the project, gather the necessary tools and materials.
Common siding replacement tools include:
- Pry bar or siding removal tool
- Hammer or nail gun
- Circular saw or utility knife
- Measuring tape
- Chalk line
- Level
- Safety glasses and gloves
- Ladder or scaffolding
- House wrap or moisture barrier
- Replacement siding materials
- Fasteners and trim pieces
The exact materials needed will depend on whether you choose vinyl, fiber cement, wood, engineered wood, or another siding type.
Preparing in advance helps the installation process move more efficiently.
Safety Tips Before Replacing Siding
Safety should always come first when learning how do you replace siding on a house.
Because siding work often requires ladders, cutting tools, and elevated work areas, homeowners should take precautions.
1. Wear Protective Gear
Use gloves, eye protection, and sturdy footwear to reduce injury risks.
2. Check for Electrical Hazards
Be cautious around utility lines, outlets, or mounted electrical components attached to exterior walls.
3. Use Stable Ladders
Ensure ladders are properly positioned and placed on level ground.
4. Watch for Hidden Damage
Water damage, mold, or weakened wall framing may exist beneath damaged siding.
If structural concerns are discovered, professional assistance may be necessary.
Step 1: Remove the Existing Siding
The first stage of house siding replacement is removing old or damaged materials.
Start by loosening panels using a siding removal tool or pry bar. Work carefully to avoid damaging the underlying structure or nearby trim.
For vinyl siding:
- Unlock overlapping panels before removal.
- Remove nails holding panels in place.
- Work from the top downward when possible.
For wood or fiber cement siding:
- Carefully remove nails or screws.
- Pry damaged sections loose slowly to reduce wall damage.
Taking your time during removal can help preserve the wall underneath and reduce future repair work.
Step 2: Inspect the Exterior Walls
Once old siding is removed, inspect the underlying structure.
This step is essential when learning how to replace siding on a house because hidden issues often become visible only after siding removal.
Check for:
- Rotting wood
- Moisture damage
- Mold growth
- Cracks in sheathing
- Pest damage
Damaged sheathing or framing should be repaired before moving forward.
Skipping this step is one of the most common mistakes during home siding replacement and can shorten the lifespan of new siding.
Step 3: Install House Wrap or Moisture Barrier
Before new siding is installed, a weather-resistant moisture barrier should be added.
House wrap helps protect exterior walls from moisture intrusion while improving energy efficiency.
When installing house wrap:
- Start at the bottom of the wall.
- Overlap seams to direct water away.
- Secure material tightly without wrinkles.
- Tape seams where recommended.
This protective layer helps improve long-term siding performance.
Step 4: Measure and Prepare New Siding
Accurate measurements are essential when learning how do you replace siding on a house.
Measure wall sections carefully and cut siding to fit around:
- Windows
- Doors
- Corners
- Roof intersections
- Utility openings
Using a chalk line helps maintain straight rows and improves visual consistency.
Always allow for expansion gaps if installing vinyl siding since temperature changes can cause movement.
Step 5: Install Starter Strips and Trim
Before installing main siding panels, starter strips and trim pieces must be secured.
Starter strips create a level foundation for the first siding row, while trim helps create clean edges around openings and corners.
Common trim components include:
- J-channels around windows and doors
- Corner posts
- Soffit trim
- Fascia trim
Proper preparation at this stage contributes to a cleaner final appearance.
Step 6: Install the New Siding
Now comes the main installation phase.
When learning how to replace siding, proper panel alignment and fastening matter significantly.
1. Vinyl Siding Installation
- Start from the bottom and work upward.
- Lock panels together securely.
- Leave room for expansion and contraction.
- Avoid driving nails too tightly.
2. Fiber Cement or Wood Siding
- Install according to manufacturer spacing recommendations.
- Ensure overlapping sections are consistent.
- Use weather-resistant fasteners.
Keeping rows level and evenly spaced creates a more professional finish.
Common Mistakes to Avoid During Siding Replacement
Even experienced DIY homeowners can make errors during house siding replacement.
1. Skipping Wall Repairs
Installing new siding over damaged sheathing may trap moisture and worsen structural issues.
2. Improper Fastening
Overdriven nails may restrict movement, leading to cracks or buckling.
3. Ignoring Expansion Gaps
Vinyl siding expands and contracts with temperature changes.
4. Poor Moisture Protection
Skipping house wrap can increase water intrusion risks.
5. Inconsistent Measurements
Uneven cuts or crooked rows can affect curb appeal and performance.
Avoiding these mistakes improves the overall success of your home siding replacement project.
DIY vs. Hiring a Contractor
Many homeowners researching how to replace siding on a house wonder whether DIY installation is worth it.
DIY siding replacement may work well for:
- Small homes
- Minor siding projects
- Homeowners with construction experience
Hiring a contractor may be the better choice for:
- Large homes
- Multi-story properties
- Structural damage repairs
- Complex siding materials
Professional installers often complete projects faster and provide workmanship warranties.
Final Thoughts
Learning how to replace siding gives homeowners a better understanding of one of the most important exterior upgrades for protecting and improving a home. Whether planning a full house siding replacement or simply researching the process, understanding each stage can help reduce mistakes and improve results.
Knowing when to replace siding, preparing walls properly, and following installation best practices all contribute to longer-lasting performance. If you have ever wondered how do you replace siding on a house, taking a step-by-step approach can make the process easier to understand and more manageable.
Whether you choose a DIY approach or professional home siding replacement, investing in quality materials and proper installation can improve curb appeal, energy efficiency, and long-term protection for years to come.